blog ▸ oauth docs
Setting up Sign In With Privacy Portal on WordPress
Privacy-Portal
2024-10-14
9 MIN READ
In this tutorial, we will show you how to quickly set up Sign In with Privacy Portal on your WordPress site.
Step 1 - Install the Privacy Portal SSO plugin on WordPress
- In your WordPress admin console, simply go to the “Plugins > Add Plugins” page.
- Install and Activate the “Privacy Portal SSO” plugin.
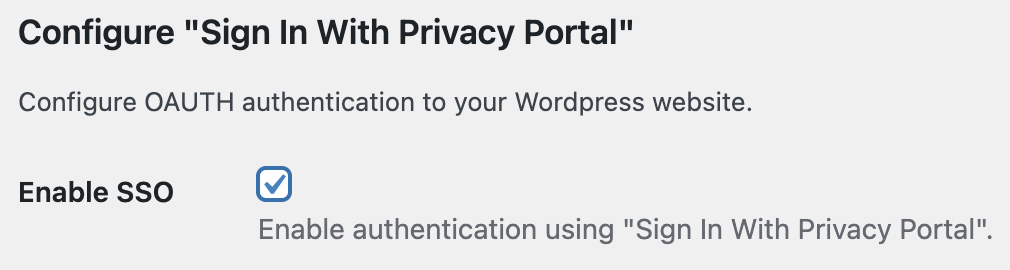
- Go to the plugin settings page: “Settings > Privacy Portal SSO”.
- Check “Enable SSO” and save the changes.
Now you should be able to see the redirect_uri for your site. You will need it to configure your OAuth application with Privacy Portal.
Step 2 - Register your OAuth App
- Go to the Privacy Portal App.
- Create you free account (in case you don’t already have one).
- Open to Developer Settings.
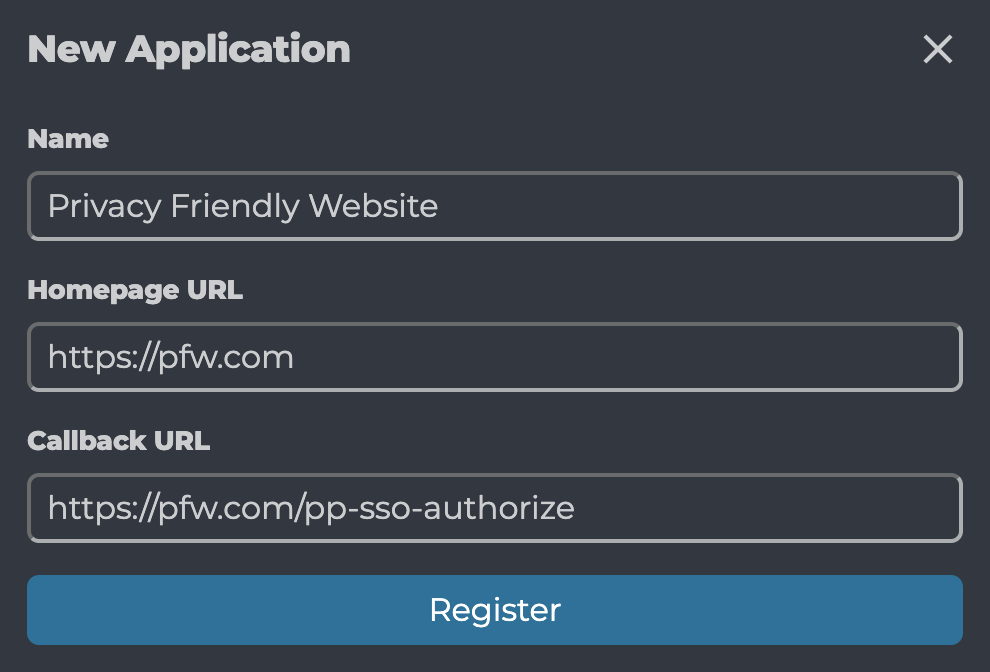
- Tap on “New Application” to register your OAuth Application.
- Fill in the information requested then tap on “Register”.
Step 3 - Get your App Credentials
- Go to Developer Settings.
- Select the OAuth Application you just created.
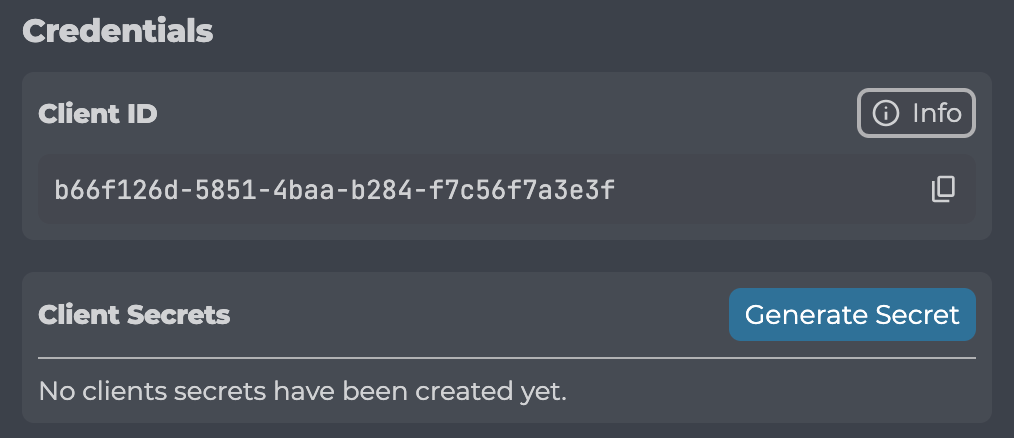
- Under “Credentials”, copy your Application’s
client_id. - Also under “Credentials”, tap on “Generate Secret” and copy the
client_secret.
Note that the client_secret will only be displayed to you once. Make sure to treat it as a password and store it securely.
Step 4 - Configure the Plugin
- Go back to the plugin settings page: Settings > Privacy Portal SSO.
- Enter the Client ID and the Client Secret that we got in Step 3 and save the changes.
- Make sure Create user if does not exist is enabled.

Step 5 - Save Permalinks
Privacy Portal SSO uses custom permalinks during redirection that can only be enabled manually.
- Go to the Permalinks page under Settings > Permalinks
- Without making any changes to the page, simply tap on Save Changes
Step 6 - Test your configuration
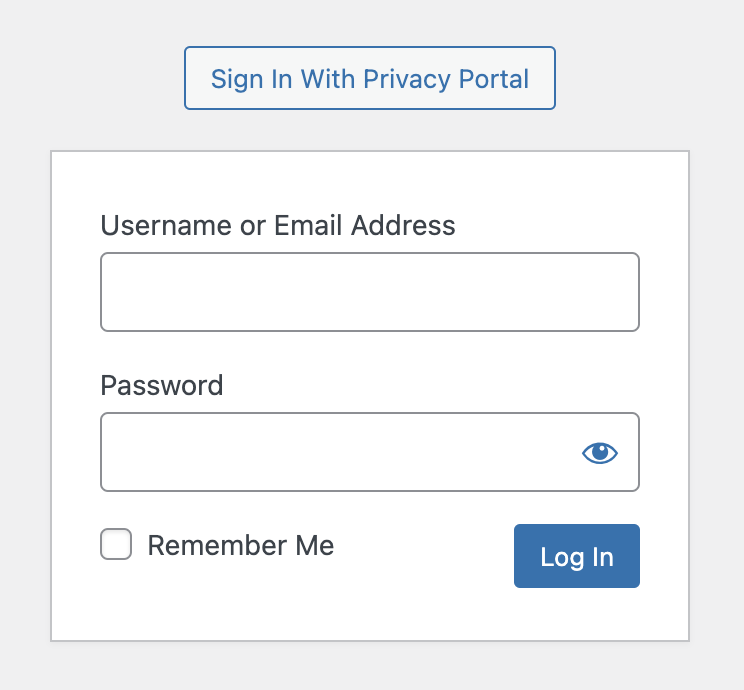
Now that you’re completed all the steps, you can log out from WordPress. If everything worked as expected, you should now see a “Sign In With Privacy Portal” button next to the login form.
Step 7 - Enable Public Access
- Go back to the Privacy Portal App.
- Go to the Developer Settings.
- Under “Access Management”, enable “Public Access”.
Now anyone should be able to log in to your application.

Step 8 - Configure Mail Relay
Now that you’ve set up “Sign In with Privacy Portal”, users will be able to log in to your WordPress site anonymously. Every user will have the ability to use a pseudonym as their name during registration. Also, every email provided to you is a Privacy Alias that relays mail to your user’s personal emails.
In order to send emails to your users through Mail Relay, you will need to verify your ownership of the sending domain name.
- Go to the Privacy Portal App.
- Select the OAuth Application of your site.
- Under “Mail Relay”, find your sending domain and tap on
verify. - Follow the steps to verify your ownership of the domain name.
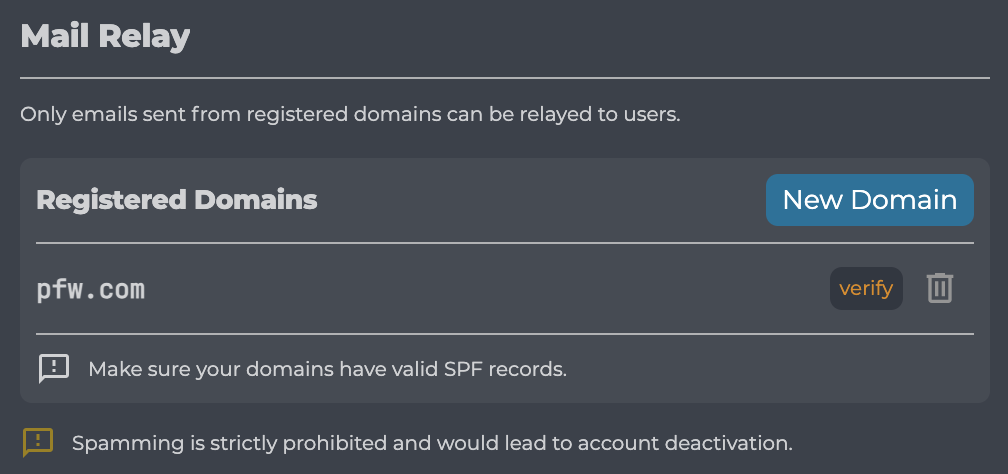
Once domain verification is completed, you should be able to send emails to your users. Make sure your email is configured correctly to prevent email spoofing using SPF, DKIM, and DMARC. We strictly enforce these security configurations for OAuth applications using Sign In with Privacy Portal to keep our users safe.
Step 9 - Add a custom login button (Optional)
Custom button
You can add a login button on any page of your WordPress site.
- Start editing the page in question on WordPress.
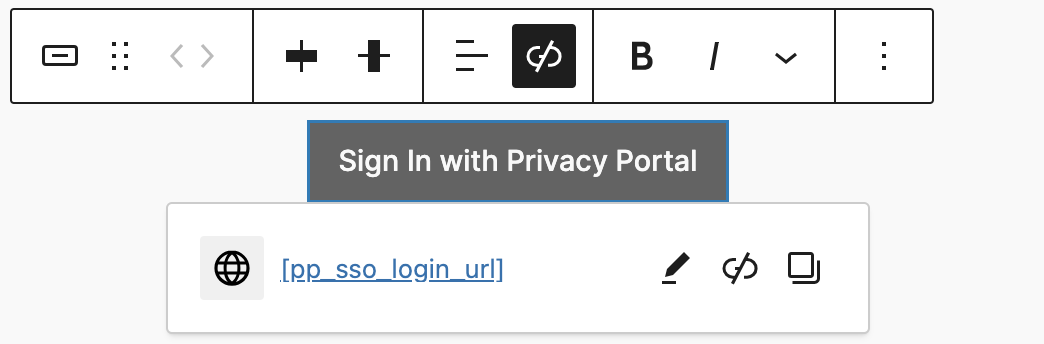
- Insert a new button element.
- Enter the text
Sign In with Privacy Portal. - Enable the link and set its value to
[pp_sso_login_url]. - Style the button to your liking.
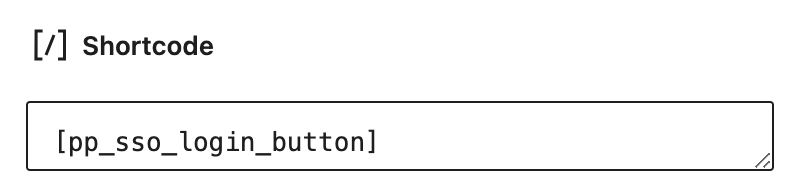
Simple Link
In case you just want to have a link instead of a button, you can simply use the shortcode [pp_sso_login_button].